How to prepare the roof for roof membrane and the equipment you need
The actual application of the liquid roof membrane is the quick part. The membrane is ready for use directly from the bucket and only needs to be applied in one layer. What takes time is getting the roof ready, and that is also the part that determines the outcome. Before you open the first bucket, the roof must be clean, dry and firm. This applies regardless of whether it is the flat roof of the house or the roof of the carport.
Go through the roof before doing anything else
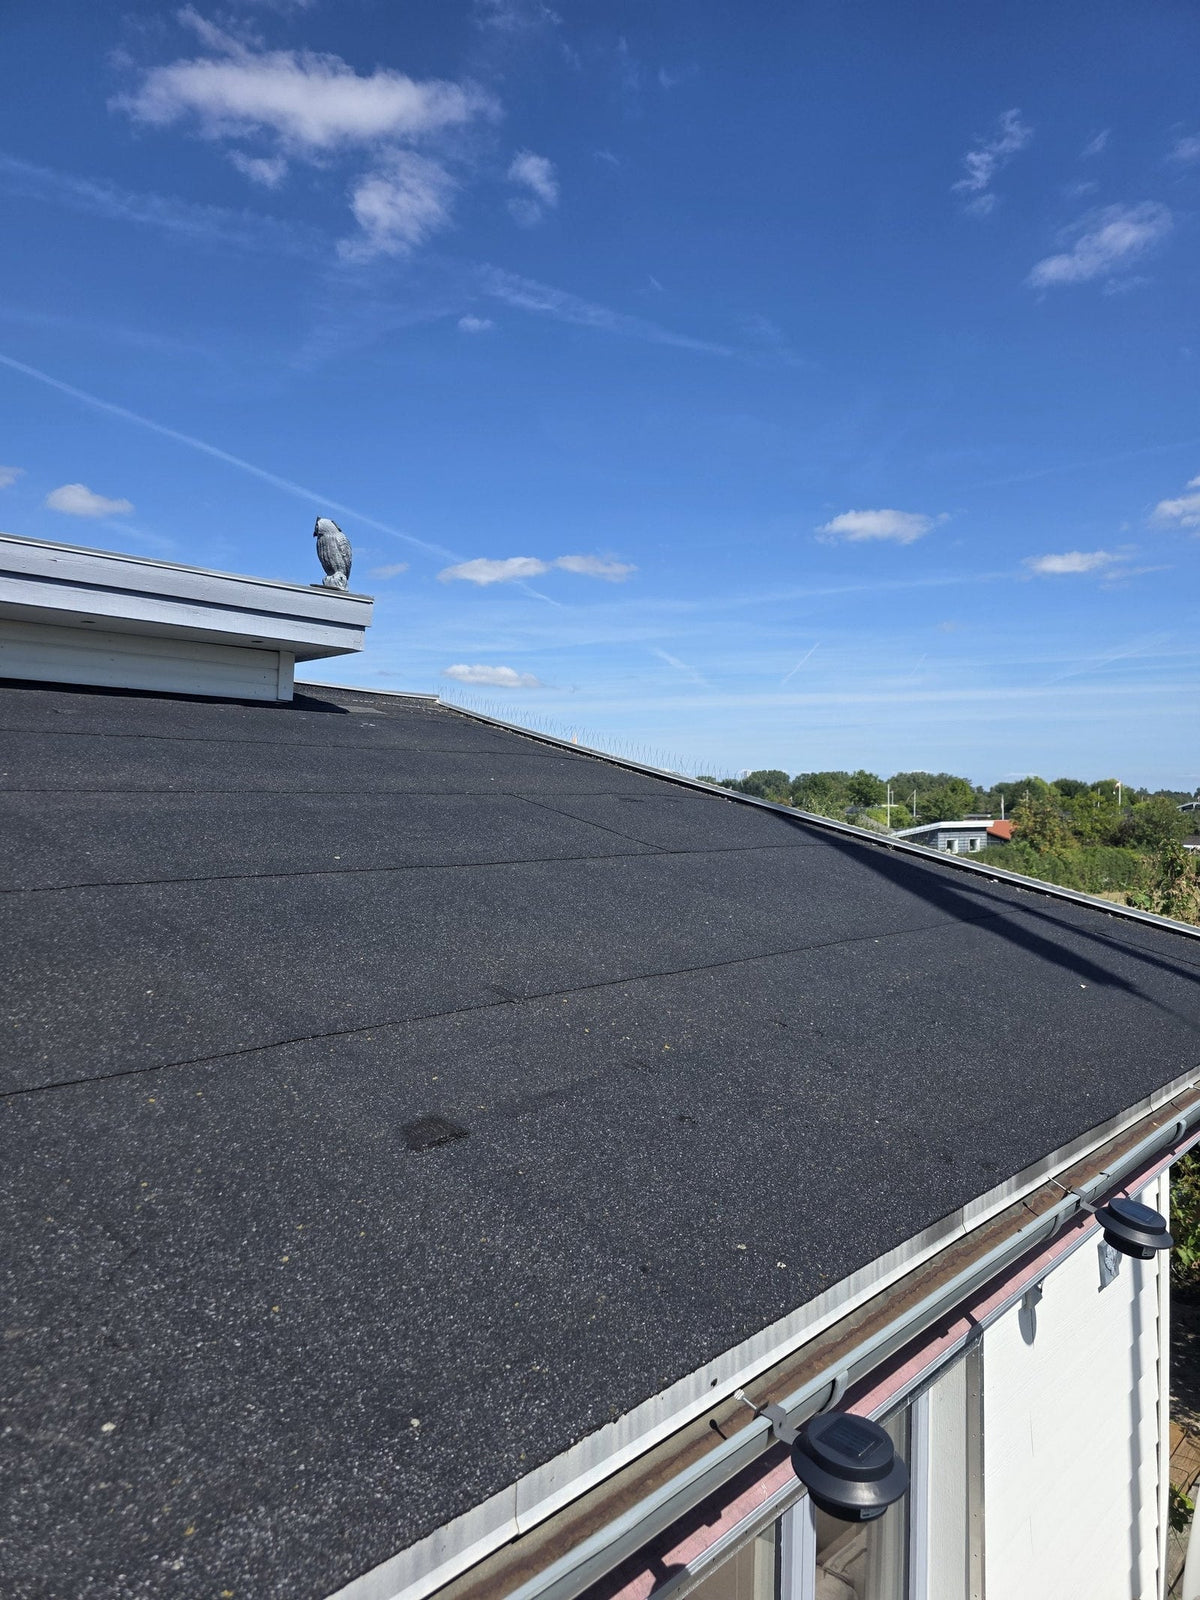
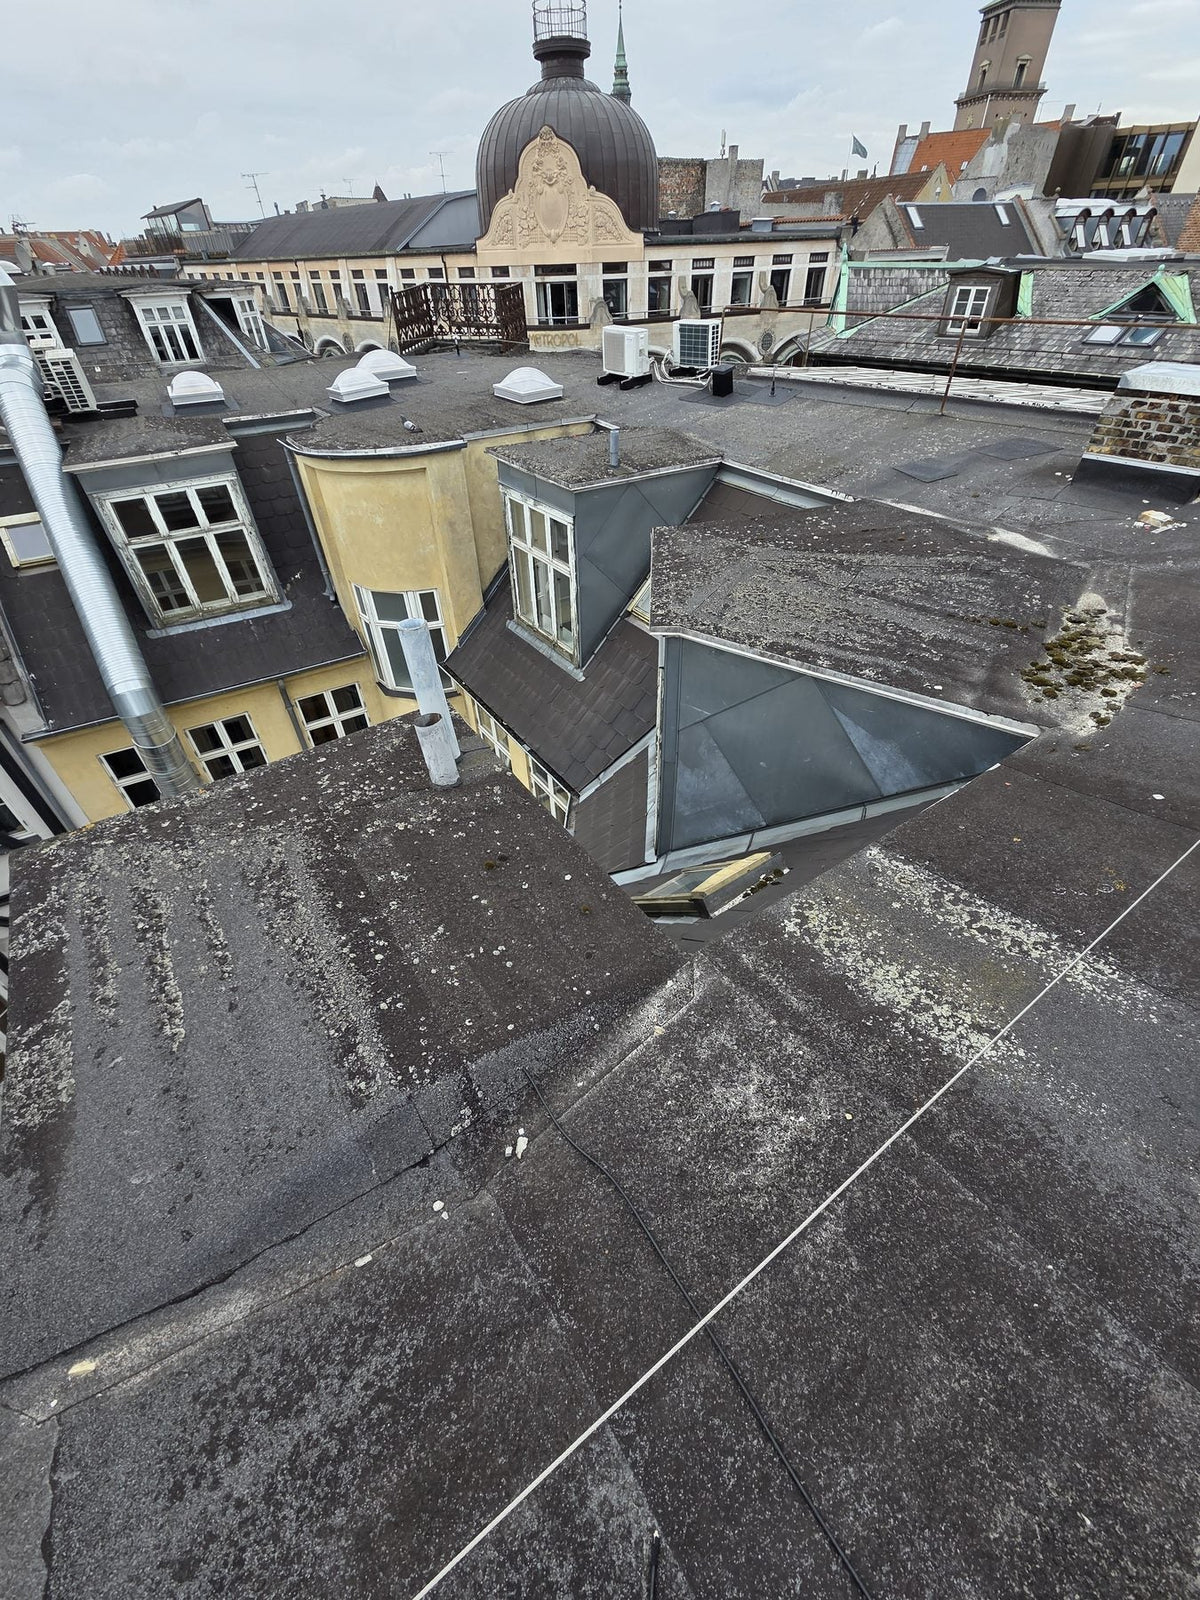
Start with a tour of the roof before ordering anything or finding the menu. The membrane should not be used on a surface with standing water, loose pavement or serious damage, so these are the ones you are looking for.
Look for depressions where water remains after rain. Step on the surface and feel if it gives, and grab an edge to see if the coating comes off. If there is eternit, do not step directly on the boards, but lay out boards.
The membrane can be used on roofing felt, eternit, concrete, slate, zinc, roofing foil, metal and wood. If it is old eternite sheets, find out whether they contain asbestos before you start brushing. There is more about that in it Can you seal an eternit roof.
It needs to be repaired first
Cracks, joints and penetrations must be repaired before you start with the membrane. You must also give the joints extra material later, along with corners, edges and coverings.
Loose roofing felt must be glued down or cut away so that nothing is left standing and tilting. Rotten boards and slabs that give way must be replaced. The membrane closes the surface, but it does not make a soft surface firm again.
Check the coverings at the chimney, skylight and wall. A flashing that is loose or leaking needs to be fixed now, not later. If you have taken a slope of at least 5 degrees, you can seal the transition with MaxFlex covering, which is self-adhesive and shaped with the hands.
If there is water on the roof, find out why. A clogged drain or a gutter full of leaves is easy to clean. A depression in the roof surface itself is a bigger issue, and it must be resolved before the membrane is applied. If you're still looking for where it drips from, start with Leaky roof? How to find the hole.
How to clean the roof
Sweep away leaves, branches and gravel, and empty gutters and downspouts so the water can run away. The roof must then be cleaned thoroughly with a stiff broom or a wire brush. All loose material must be removed, and the same applies to dirt, algae, moss and dust. Oil, grease and biofilm must also be completely removed.
If the roof is very dirty, you can use a high-pressure cleaner, but only at low pressure. Old roofing felt cannot withstand being cut by a hard jet, so keep a good distance. Smooth surfaces and metal parts benefit from a light sanding before proceeding.
If you have cleaned with water, the roof must have time to dry completely, also in the joints and in old cardboard that has absorbed water. Therefore, please clean well in advance of the day you want to apply. Remove the water from the surface with a mop, and finally sweep away the dust that has settled when the roof is dry.
When will the roof be ready?
The roof is ready when it is clean, firm and clearly dry. Place your hand on the surface in the shade and in the low places where the moisture lingers the longest. If it feels moist, wait.
The weather must also be with you. The temperature must be between 5 and 35 degrees, both while you work and throughout the drying time, and the humidity should be below 80 percent. Do not apply in rain, fog or mist, nor if there is a risk of precipitation within the next 24 hours. Backing sun is also a problem, because on a very hot surface or in direct, strong sun, curing can be affected.
Now that the nights are getting colder, look especially at the night temperature in the view. By the way, wait until the dew is gone in the morning. How it fits with the seasons is in What time of year can you apply roof membrane?
The equipment that must be ready
Get it all figured out before you get started. The application should preferably be done in one stretch, so that there is no overlap and unevenness, and you do not have time to run after a roller in the middle of the surface.
- Stiff broom and steel brush for cleaning
- Mop with telescopic handle to remove water and dirt from the surface
- High-pressure cleaner, only if the roof is very dirty, and only at low pressure
- Chalk string or wall string to divide the roof into fields
- Brush for corners, edges and details
- Good quality paint roller and telescopic handle for the large surfaces
- Stick or stirrer to stir up the membrane
- Work gloves and painting gloves
- FFP2 dust mask for cleaning
- Non-slip shoes and a protective suit or work clothes that are allowed to get dirty
- Fall protection if the roof is high or has a slope
- Household alcohol, turpentine or benzine to clean the tool
You must not use spraying equipment. The membrane is applied with a roller and brush. Do not clean the tool in water, because water causes the membrane to harden and hardened material can only be removed mechanically. If you get it on your skin, wash it off with soap and water.
Ensure a safe way onto the roof and do not work alone if there is a risk of falling or slippery surfaces. A freshly cleaned roof can be slippery as long as it is wet.
Ours complete equipment package collects most of the cleaning and application equipment. If it is sold out, you can sign up for the waiting list on the product page and be notified when it is back. You can also buy the equipment on the list separately in an ordinary hardware store.
Make a plan for the day itself
Measure the roof surface and calculate with a bucket of 20 kg per 13.3 m². This corresponds to a consumption of approx. 1.5 kg per m². Divide the area into fields with chalk line or brick line, and place the buckets at each field. Then you can see along the way whether the consumption is suitable. The entire calculation, also with upstairs and skylights, is included How much roof membrane do you need?
If the buckets come home before the roof is ready, place them dry and cool, away from frost and direct sunlight. Unopened, the membrane can last for 12 months, so there is no reason to rush through the work in bad weather.
Stir the membrane before you begin. Take corners, joints, edges and flashings first with a brush and give them extra material. Then roll the flat field by field in an even and covering layer, and do not lay it too thin, as this will affect the durability.
Also plan the time accordingly. The surface is dry to the touch after approx. 1 to 2 hours, depending on temperature, humidity and weather, and full cure typically takes 24 to 48 hours. During that period, the roof must be protected against rain, dew and heavy moisture, and it must not be walked on or tools placed on it. Therefore, take everything down when the last square is rolled.
If you have the measurements, you can order the roof membrane, so that the buckets are ready when the roof is finished. If you are in doubt about the substrate, write to us at kontakt@luna-roof.dk with a few pictures of the roof before you get started.